Top Lash Lift Kit Reviews: Achieve Perfect, Long-Lasting Lash Curls
Top Lash Lift Kit Reviews: Achieve Perfect, Long-Lasting Lash Curls
Blog Article
Step-by-Step Guidelines for a Perfect Lash Lift Using a DIY Package
Achieving a perfect lash lift with a do it yourself kit needs thorough attention to information and a clear understanding of the procedure. From gathering necessary supplies to grasping the application strategies, each action plays a critical function in the last outcome. A well-executed lash lift can improve all-natural beauty, but it requires accuracy and treatment. As we explore the required prep work and strategies, it becomes evident that neglecting also a minor detail can cause poor results. What details methods can make certain that your lash lift not only meets yet surpasses assumptions?

Gather Your Products
Before getting started on your DIY lash lift trip, it is necessary to gather all needed products to ensure a successful and secure procedure. Having the right tools and items will not only simplify your process yet also boost the results of your lash lift.
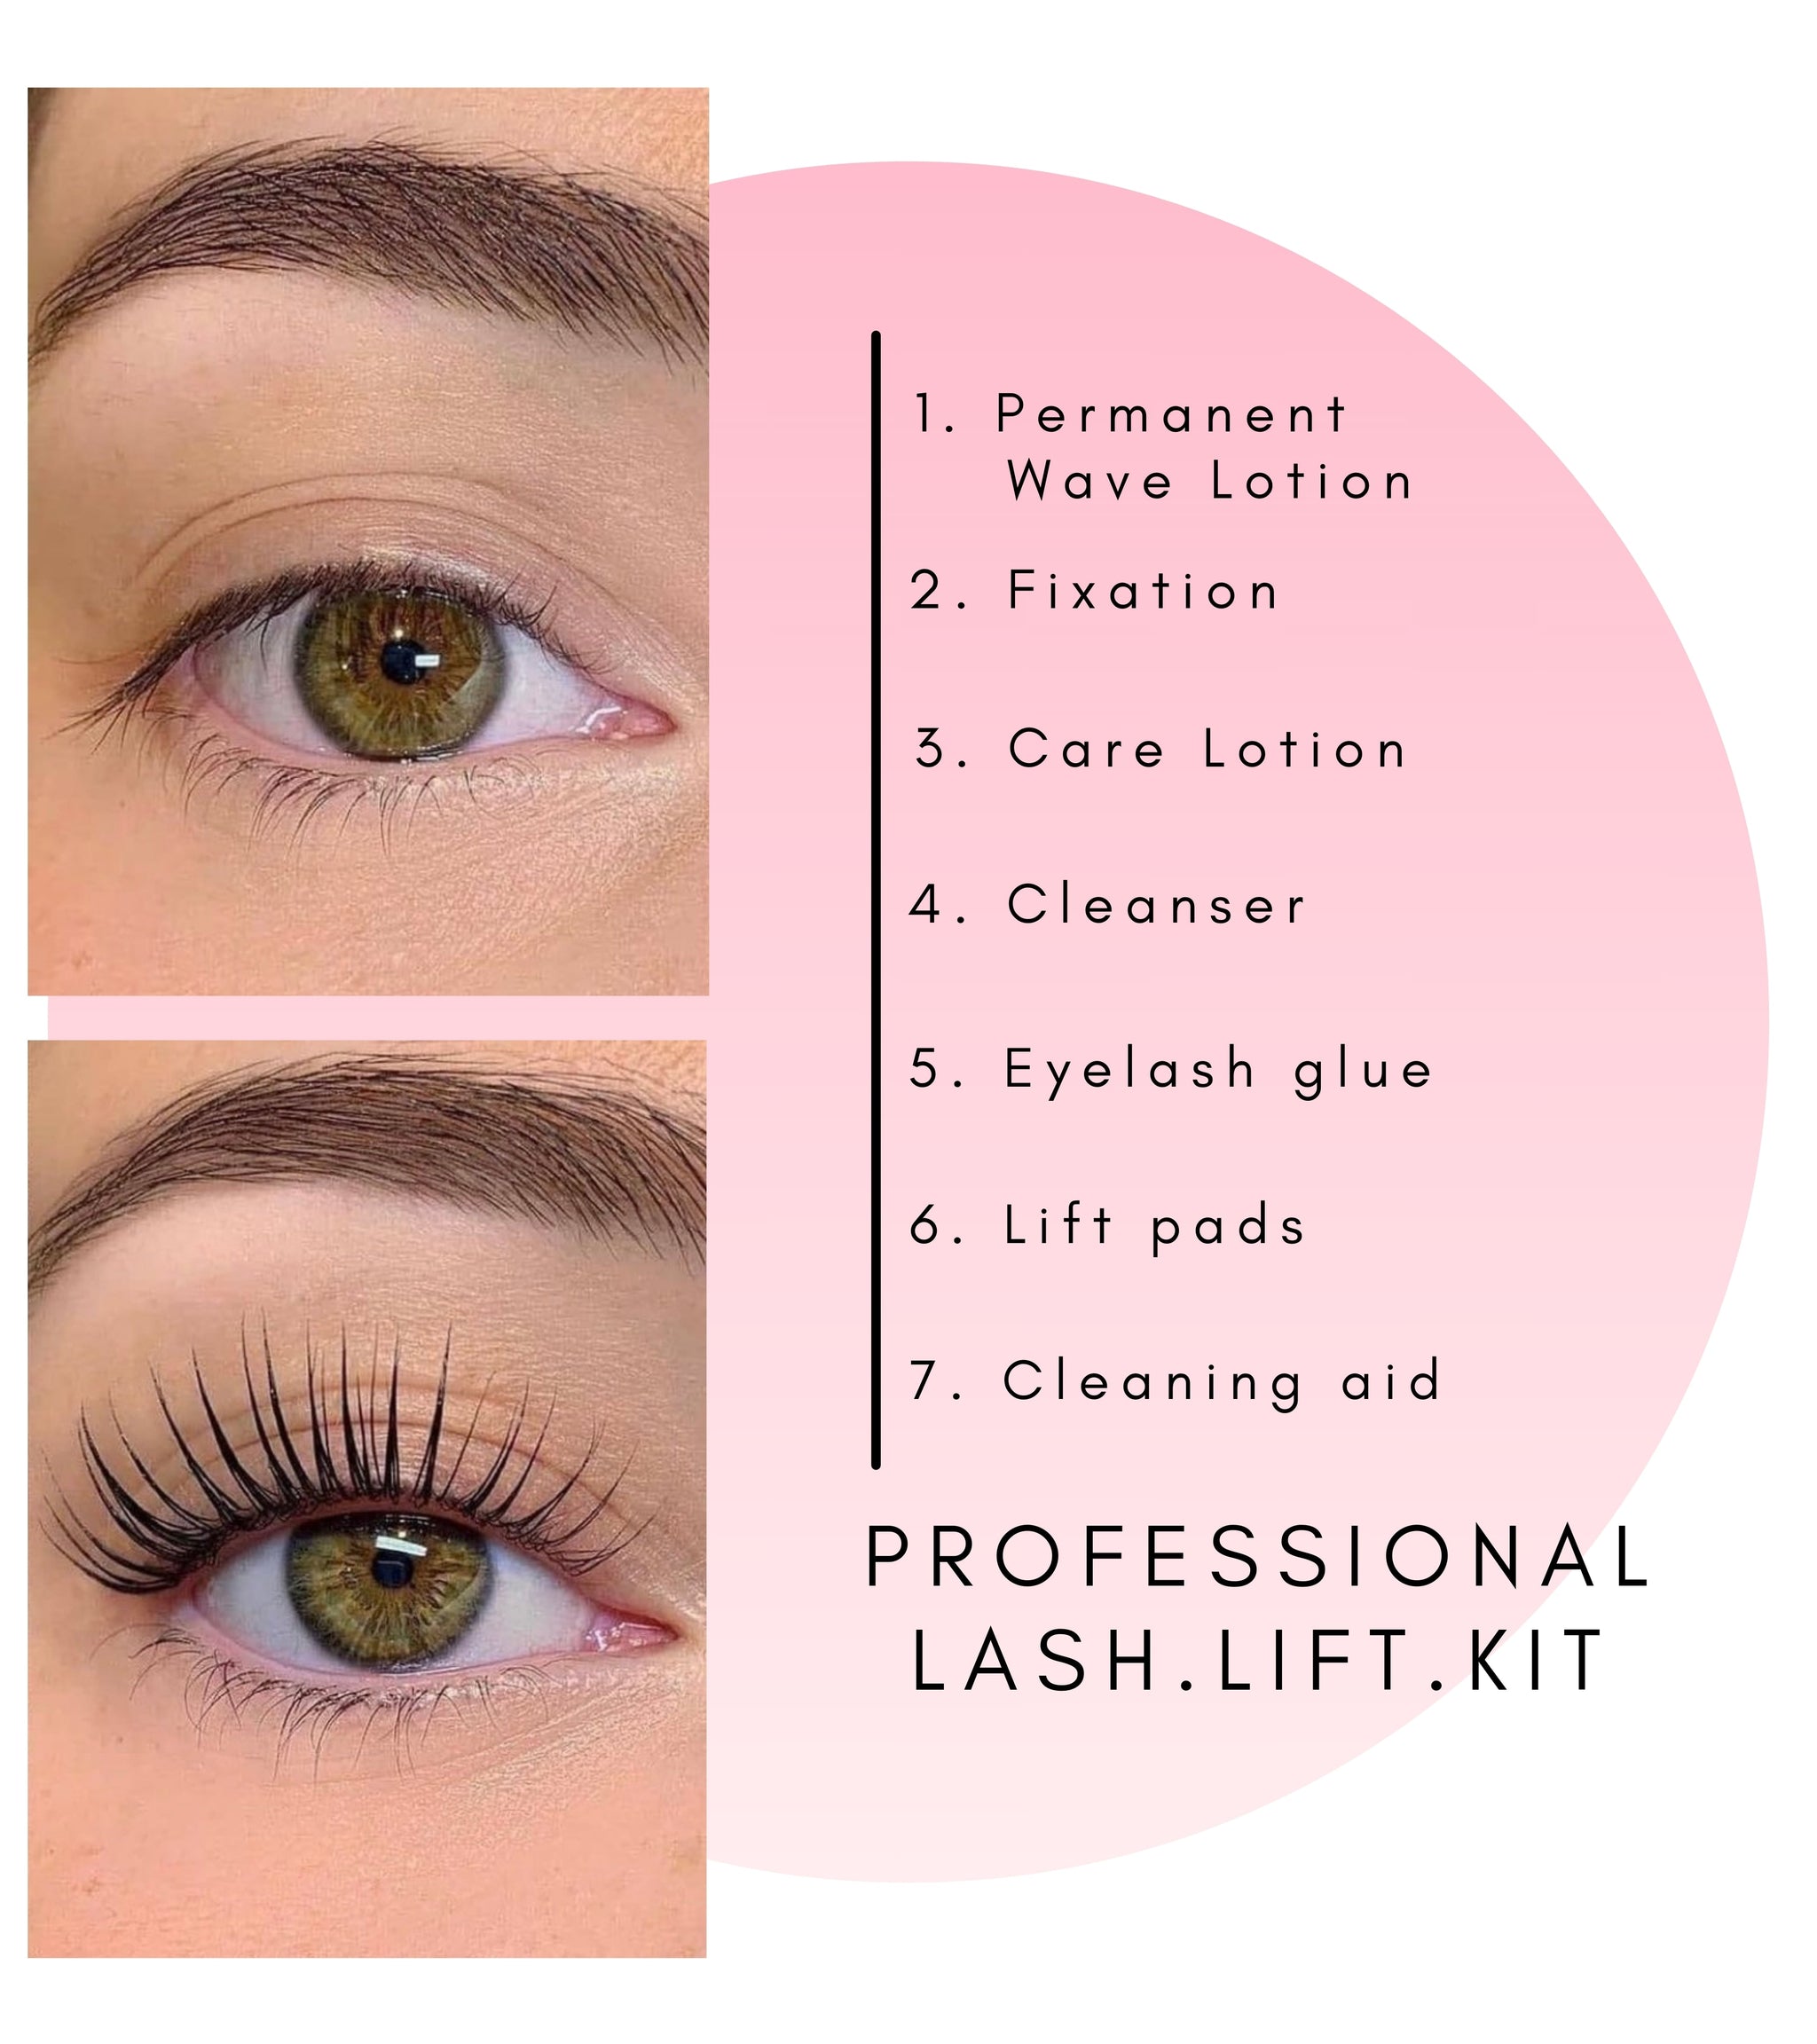
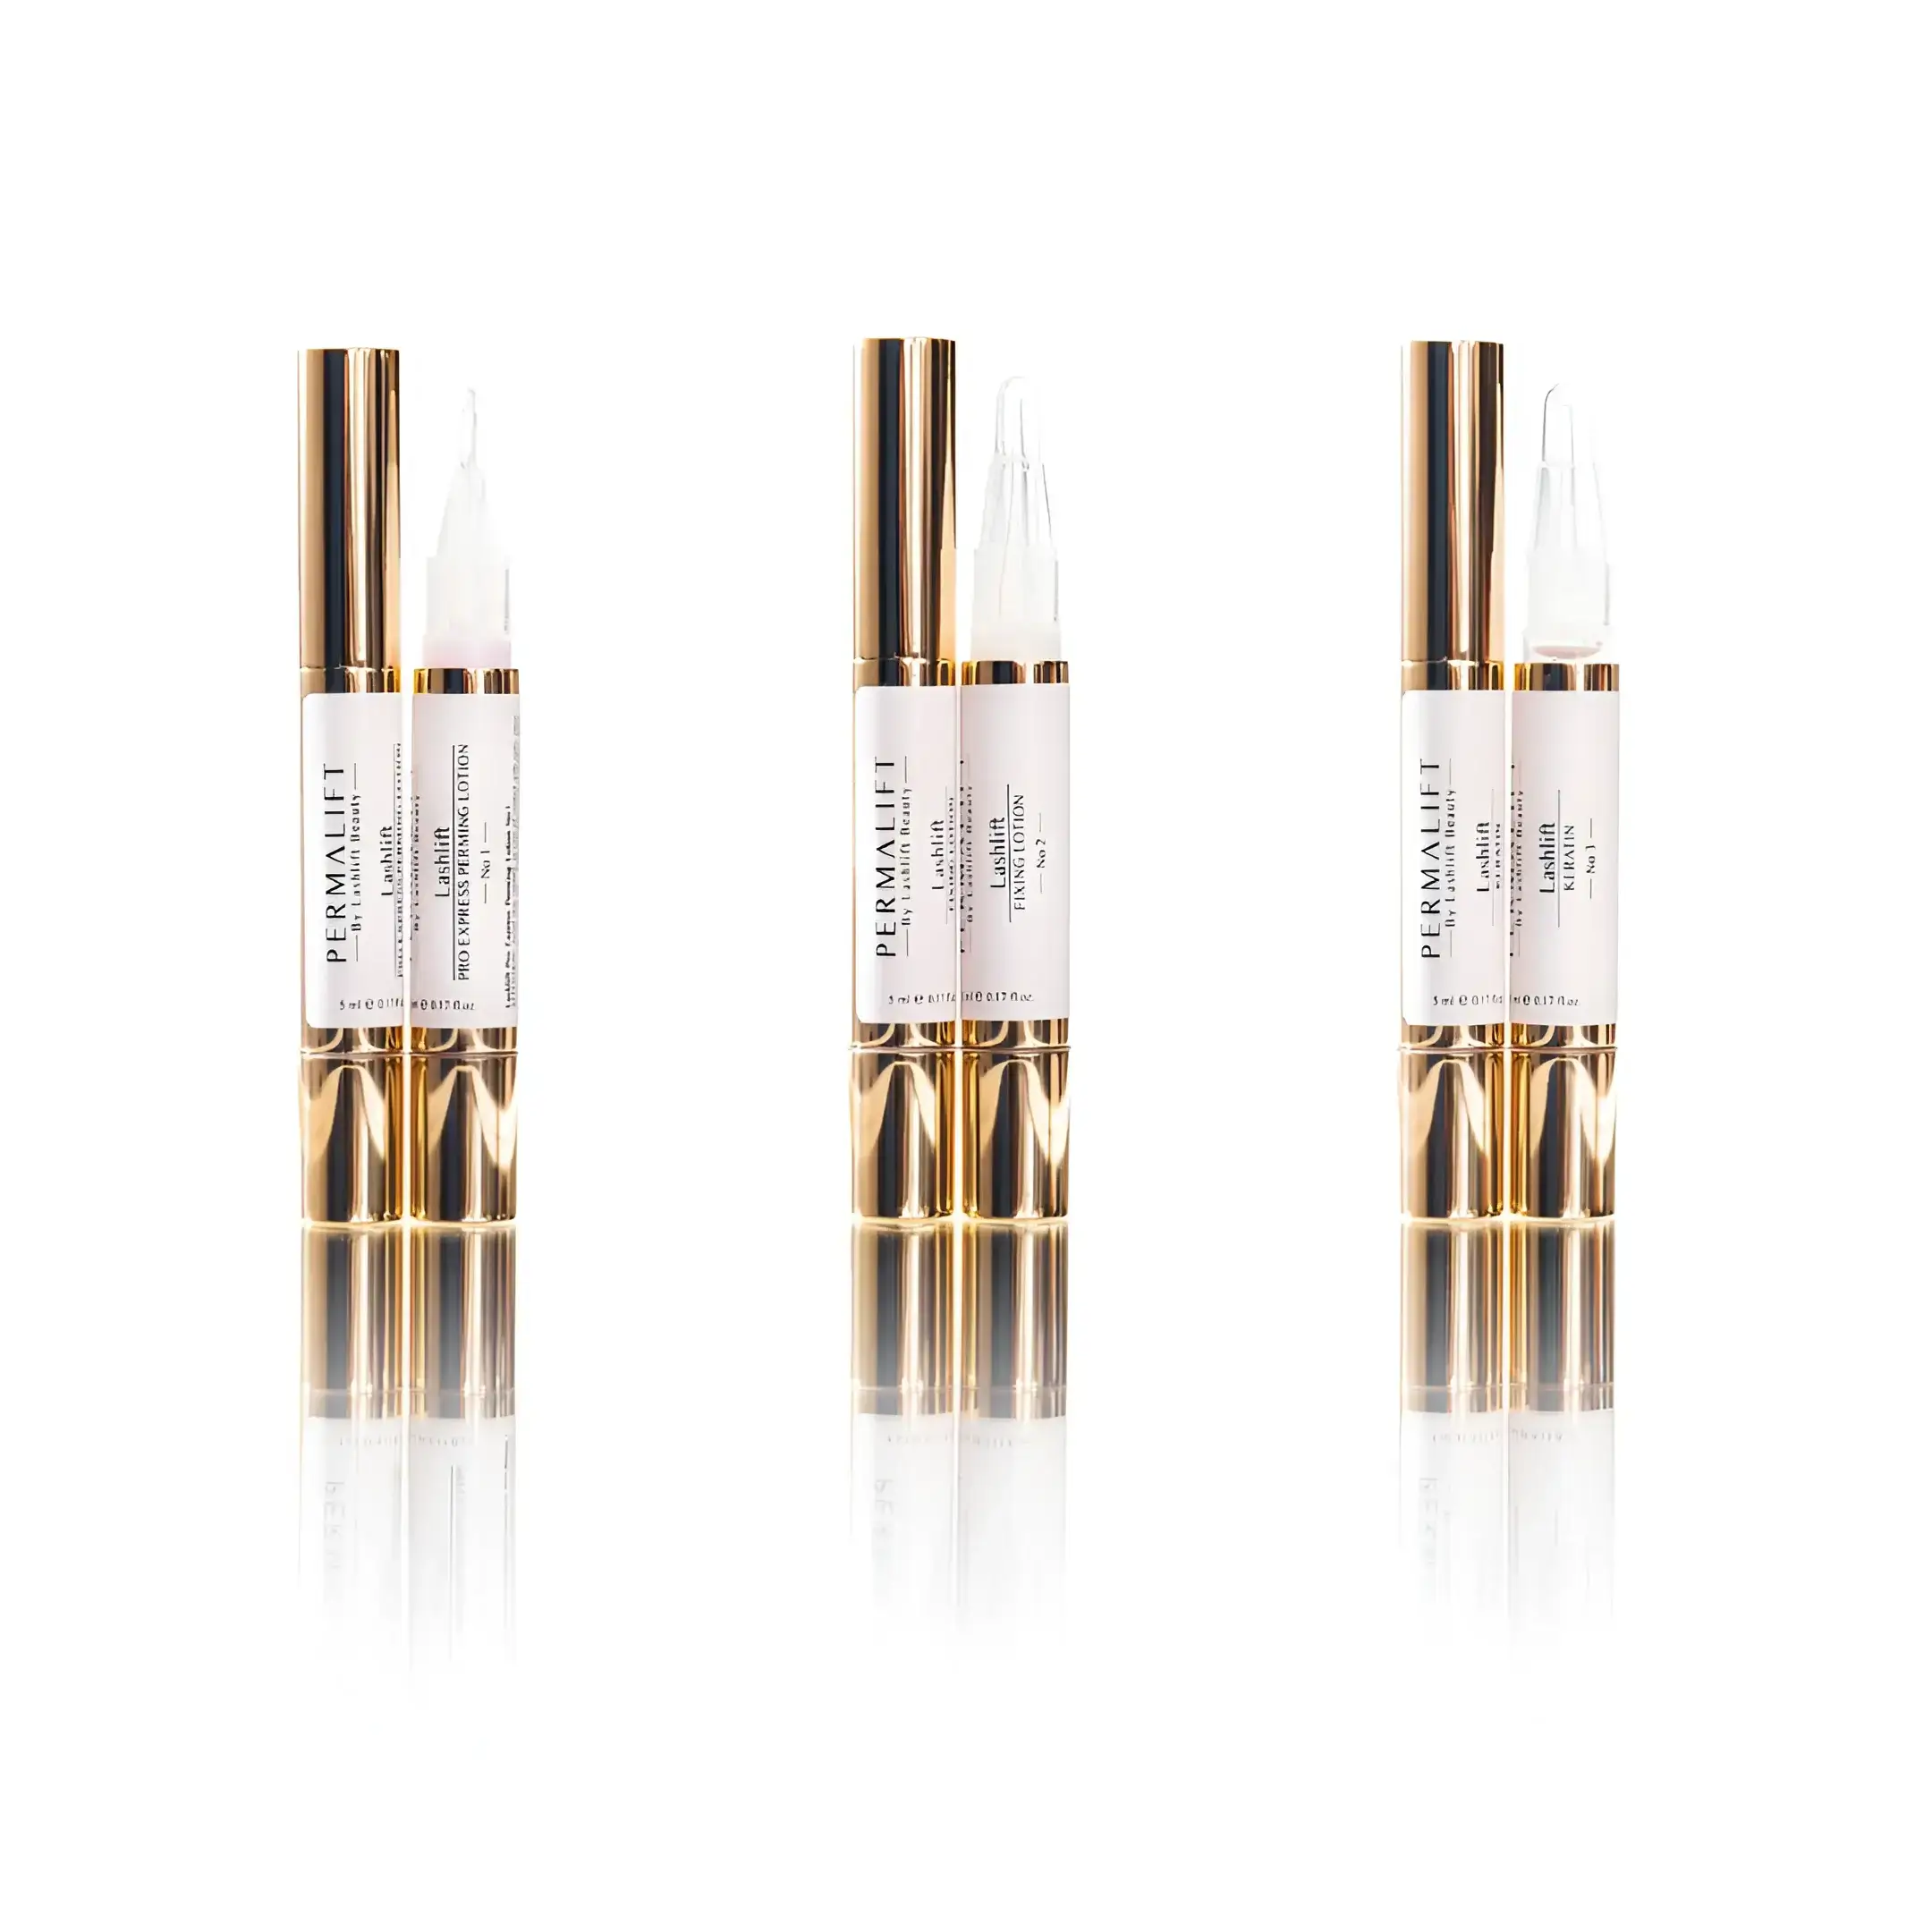
Begin by acquiring a top quality lash lift set, which typically includes a lifting option, establishing remedy, and beneficial serum. These formulas are vital for curling and keeping the shape of your lashes. Additionally, you will require silicone or rubber pads to develop the desired curl impact; these can be found in various sizes to fit various lash sizes.
Additionally, a pair of accuracy tweezers is crucial for manipulating the lashes and applying the pads properly. Cotton bud and pads need to get on hand to help in tidying up excess product.
Lastly, a micro brush will serve for applying the lifting solution uniformly. Before starting, make sure that all things are clean and arranged to assist in a smooth application procedure. By having these supplies ready, you established the stage for an efficient DIY lash lift experience.
Prepare Your Lashes
An effective lash lift starts with proper prep work of your lashes, guaranteeing they are cost-free and clean from any type of makeup or oils. Start by thoroughly cleaning your lashes with a mild, oil-free make-up eliminator or an eyelash cleanser particularly formulated for this function. This step is critical, as any kind of deposit can hinder the performance of the lifting service.
After cleansing, carefully dry your lashes utilizing a soft, lint-free towel or cells. lash lift kit. When dry, very carefully brush through your lashes with a tidy spoolie brush to divide and ensure they are aligned properly.
It's additionally a good idea to eliminate any call lenses, as you will certainly need to keep your eyes shut throughout the treatment. Ensure to have all your materials within reach, consisting of the silicone pads and sticky. This preparation stage sets the structure for a successful lash lift. By taking the time to effectively prepare your lashes, you improve the effectiveness of the therapy Get More Information and achieve optimum results.
Use the Lash Lift Service
Applying the lash lift option is a critical step in attaining beautifully lifted lashes. Begin by making certain that your lashes are clean and totally free of any make-up or oils.
Following, take the lash lift solution, usually identified as "Action 1" in your do it yourself kit. Using a clean applicator or micro-brush, use the service uniformly to the base of the lashes, making sure to layer them extensively without over-saturating. Avoid contact with the skin to stop irritation.
During this time, monitor your lashes closely to guarantee they are responding well to the remedy. This action is necessary for preparing your lashes for the succeeding phases of the lash lift.
Set and Tint Your Lashes
As the following important stage of the lash lift procedure unfolds, it's time to set and tint your lashes for a lasting and dramatic result. This action improves the appearance of your lifted lashes, supplying deepness and definition that elevates your total look.
Begin by applying the setup solution, which secures the new crinkle and makes sure that your lashes preserve their shape. Making use of a tidy applicator, distribute the setup remedy uniformly along the length of your lashes. Permit it to refine for the time specified in your do it yourself set, typically around 10 to 15 minutes.
Once the setup option has been used and processed, delicately remove it with a wet cotton pad. Next, it's time to tint your lashes. Choose a tint that complements your all-natural lash color or provides a bolder appearance. Apply the color very carefully using a little brush or applicator, ensuring even protection. Enable it to refine for the advised period, normally 5 to 10 mins.
After processing, rinse your lashes thoroughly with warm water to remove any type of remaining color. With this step total, your lashes will be magnificently set and tinted, all set to dazzle.
Aftercare Tips and Upkeep
To maintain the sensational outcomes of your DIY lash lift, correct aftercare is important. Immediately following your treatment, avoid wetting your lashes for at the very least 24 hours. This makes sure that the training remedy has actually sufficiently established, preserving the crinkle and form of your lashes.
As soon as the initial 24-hour period has actually passed, avoid utilizing oil-based items, as they can break down the training remedy. Rather, choose water-based or gel formulas for make-up eliminators and cleansers. It is additionally advisable to prevent water-proof mascara, which can be difficult to remove and may create unneeded stress on your lifted lashes.
On a regular basis brushing your lashes with a tidy spoolie can assist keep their shape and protect against tangling. Consider organizing touch-up appointments every 6 to 8 weeks, as lashes normally lost and may need re-lifting to maintain them looking their best.
Verdict
By collecting needed materials, preparing the lashes appropriately, using the lash lift option, and following up with tinting and aftercare, optimum outcomes can be attained. Consistent upkeep and interest to aftercare will certainly guarantee the durability of the lash lift.
Begin by acquiring a top quality try this site lash lift package, which normally consists of a training remedy, setting solution, and beneficial serum.An effective lash lift begins with correct preparation of your lashes, guaranteeing they are clean and free from any kind of makeup or oils.Using the lash lift service is an essential step in attaining magnificently lifted lashes.Following, take the lash lift service, typically identified as "Step 1" in your DIY package. By gathering essential supplies, preparing the lashes suitably, applying the lash lift option, and adhering to up with tinting and aftercare, ideal outcomes can be attained.
Report this page